
Clipping an Image in Photoshop
In this article :
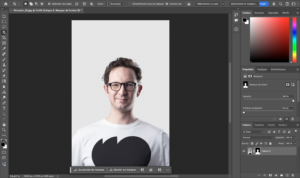
Clipping an image is one of the fundamental tasks in photo retouching. Whether it’s to isolate a subject, remove a background, or integrate an element into a photomontage, Adobe Photoshop offers a range of tools tailored to the needs of professionals and discerning amateurs. Here’s a detailed guide to the different techniques for efficiently clipping an image, depending on the complexity of the subject.
Why clip an image?
Clipping allows you to separate an element from its background in order to reuse it on another visual or give it a distinct effect. It’s an essential skill for:
- E-commerce, where products need to be displayed on a white background.
- Advertising, which requires striking and dynamic visuals.
- Graphic design, where integrating clipped elements is a common practice.
- Portrait photography, for changing a background or creating creative effects.
Photoshop offers several tools for this purpose, and the method chosen primarily depends on the nature of the image being clipped.
Clipping Methods in Photoshop
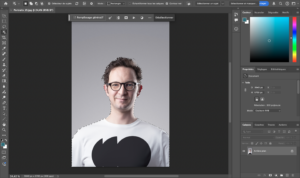
1. The Quick Selection Tool
The Quick Selection tool allows you to quickly outline a subject by painting around its edges. Photoshop analyzes neighboring pixels to create an intelligent selection.
When to use it?
- When the subject stands out clearly from the background.
- For objects with sharp edges (products, human silhouettes, etc.).
- When you want a quick clipping without too much manual effort.
How to use it?
- Select the Quick Selection tool (W).
- Brush over the object to create an automatic selection.
- Adjust with the Add to Selection button (press Shift) or Subtract from Selection button (press Alt (Option on Mac OS)).
- Finalize with Select and Mask.
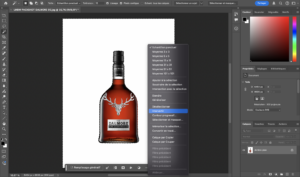
2. The Magic Wand Tool
If the image has a uniform background, the Magic Wand tool is a quick solution.
When to use it?
- For objects on a white or solid-colored background.
- When there are few variations in the background hues.
How to use it?
- Select the Magic Wand Tool (W).
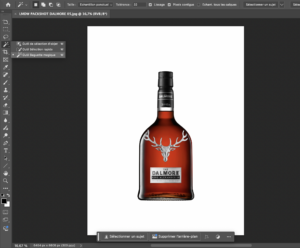
- Click on the background to erase it
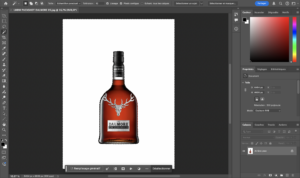
- Adjust the tolerance (10-30) for a more precise selection.

- Delete the background or invert the selection to keep the object.
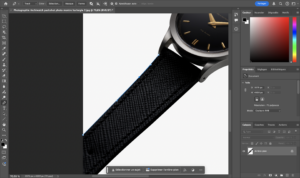
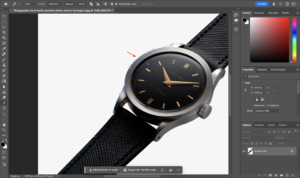
3. The Pen Tool
The Pen Tool is the most precise method, ideal for objects with smooth and well-defined edges.
When to use it?
-
To clip complex objects with sharp edges (cars, logos, metallic objects).
-
When a vector-based and editable clipping is required.
How to use it,
- Select the Pen Tool (P).
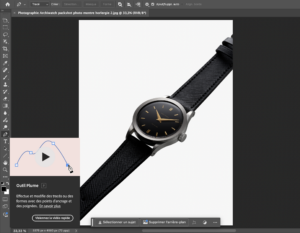
- Click to place anchor points around the subject.
- Hold and drag to create curves if needed.
- Once the clipping is complete, all that’s left is to add the layer mask.
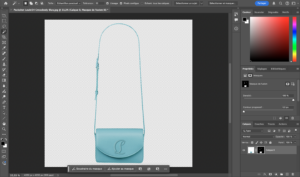
4. Color Range Selection
This tool is ideal when the subject and background have a strong color contrast.
When to use it?
- For well-defined silhouettes on a uniform background.
- When you want to isolate an element based on its hues.
How to use it?
- Go to Selection > Color Range.
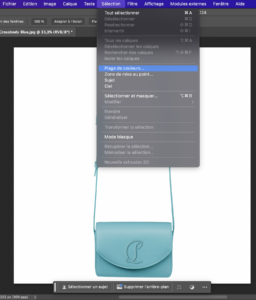
- Withe the color picker, click on the dominant color to select.
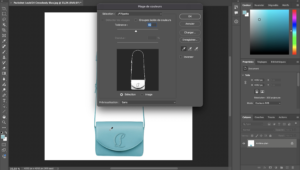
- Adjust the tolerance to include more or fewer areas.
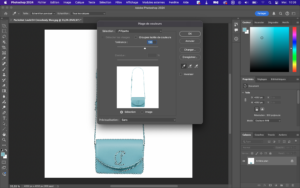
- Once again, all that’s left is to add the layer mask, and you’re good to go.
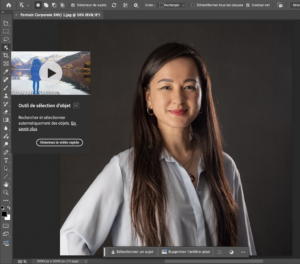
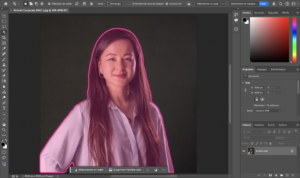
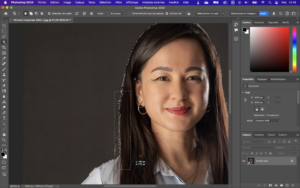
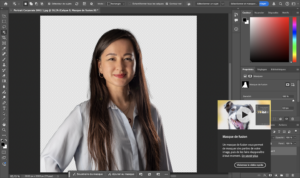
5. Automatic Clipping with Photoshop AI
Since recent versions, Photoshop has integrated artificial intelligence tools that make clipping effortless with just one click.
When to use it?
- For a quick clipping without manual adjustments.
- For people or objects with high contrast.
How to use it?
- Go to Selection > Subject.

- Photoshop generates an automatic selection.
- And voilà, add a layer mask.
Which method to choose?
[table id=Clipping_With_Photoshop /]Exporting a Clipped Image
Once the object is isolated, saving it in an appropriate format is crucial:
- PNG: Retains transparency, ideal for web and graphic design.
- PSD: Preserves layers and adjustments for future editing.
- TIFF: High-quality format for printing.
Conclusion
Clipping an image with Photoshop is an essential skill in photo editing. Depending on the image and the desired result, there are several methods available, from the Quick Selection tool to more precise techniques like the Pen tool. Artificial intelligence now simplifies some tasks, but mastering manual tools is still necessary for sharp and precise cuts.
The key? Experimenting and practicing to refine your technique and adapt the method to each situation. Whether you’re a graphic designer, photographer, or retoucher, clipping opens up a vast array of creative possibilities.
Jérémy Carlo is the editorial director at Rétines, where he ensures the consistency and clarity of all content produced by the studio.
Our Clients


Let’s discuss
What we do for you at Rétines
Meticulous work, an organised project and fast delivery. And to achieve this, we mobilise the right resources in our teams at the right time.
01
Pre-production
Artistic and technical direction tailored to the project.
Relevant recommendations on content, form and resources.
02
Photo Shooting
Photos taken by our experienced photographers.
Production that’s controlled, efficient and tailored to the needs of the project, with nothing superfluous.
03
Retouching
Technique
Photographs magnified by our retouching team.
Post-production to meet the commercial challenges of the brief.