
How to Take E-commerce Product Photos?
In this article :
Welcome to the fascinating world of e-commerce product photography, where the quality of visuals can turn a simple visitor into a satisfied customer. If you’re new to e-commerce, understanding how to take e-commerce product photos is an essential first step toward success. These images are not just illustrations; they are a vital part of the online shopping experience, offering customers a detailed and enticing view of what you have to offer.
At Rétines, we have mastered the art of product photography through years of professional experience, using cutting-edge equipment and paying meticulous attention to every detail. Our goal with this guide is not only to share our expertise but also to provide you with essential guidelines so you can confidently and efficiently conduct your own product photo shoots directly from home.
This guide is designed to equip you with the essential knowledge needed to learn how to take attractive and professional e-commerce product photos. We will cover everything from choosing the right equipment to optimizing lighting and post-production tips, all while keeping in mind that the goal is to make this process accessible and achievable without requiring a full photography studio or a substantial budget.
Preparing for a Product Photoshoot
The success of a product photoshoot for your e-commerce business relies on meticulous preparation, which encompasses art direction, logistics, and the selection of basic equipment. This fundamental step lays the groundwork for a productive photoshoot, allowing you to capture images that showcase your products with professionalism and creativity.
Art Direction: Defining Your Vision
Before even thinking about which camera to use or how to set up the lighting, it is crucial to clearly define the artistic direction of your photoshoot. This means having a precise vision of what you want to communicate through your photos. Ask yourself essential questions: What emotions or values do you want your products to evoke? How can you visually differentiate your brand from the competition?
-
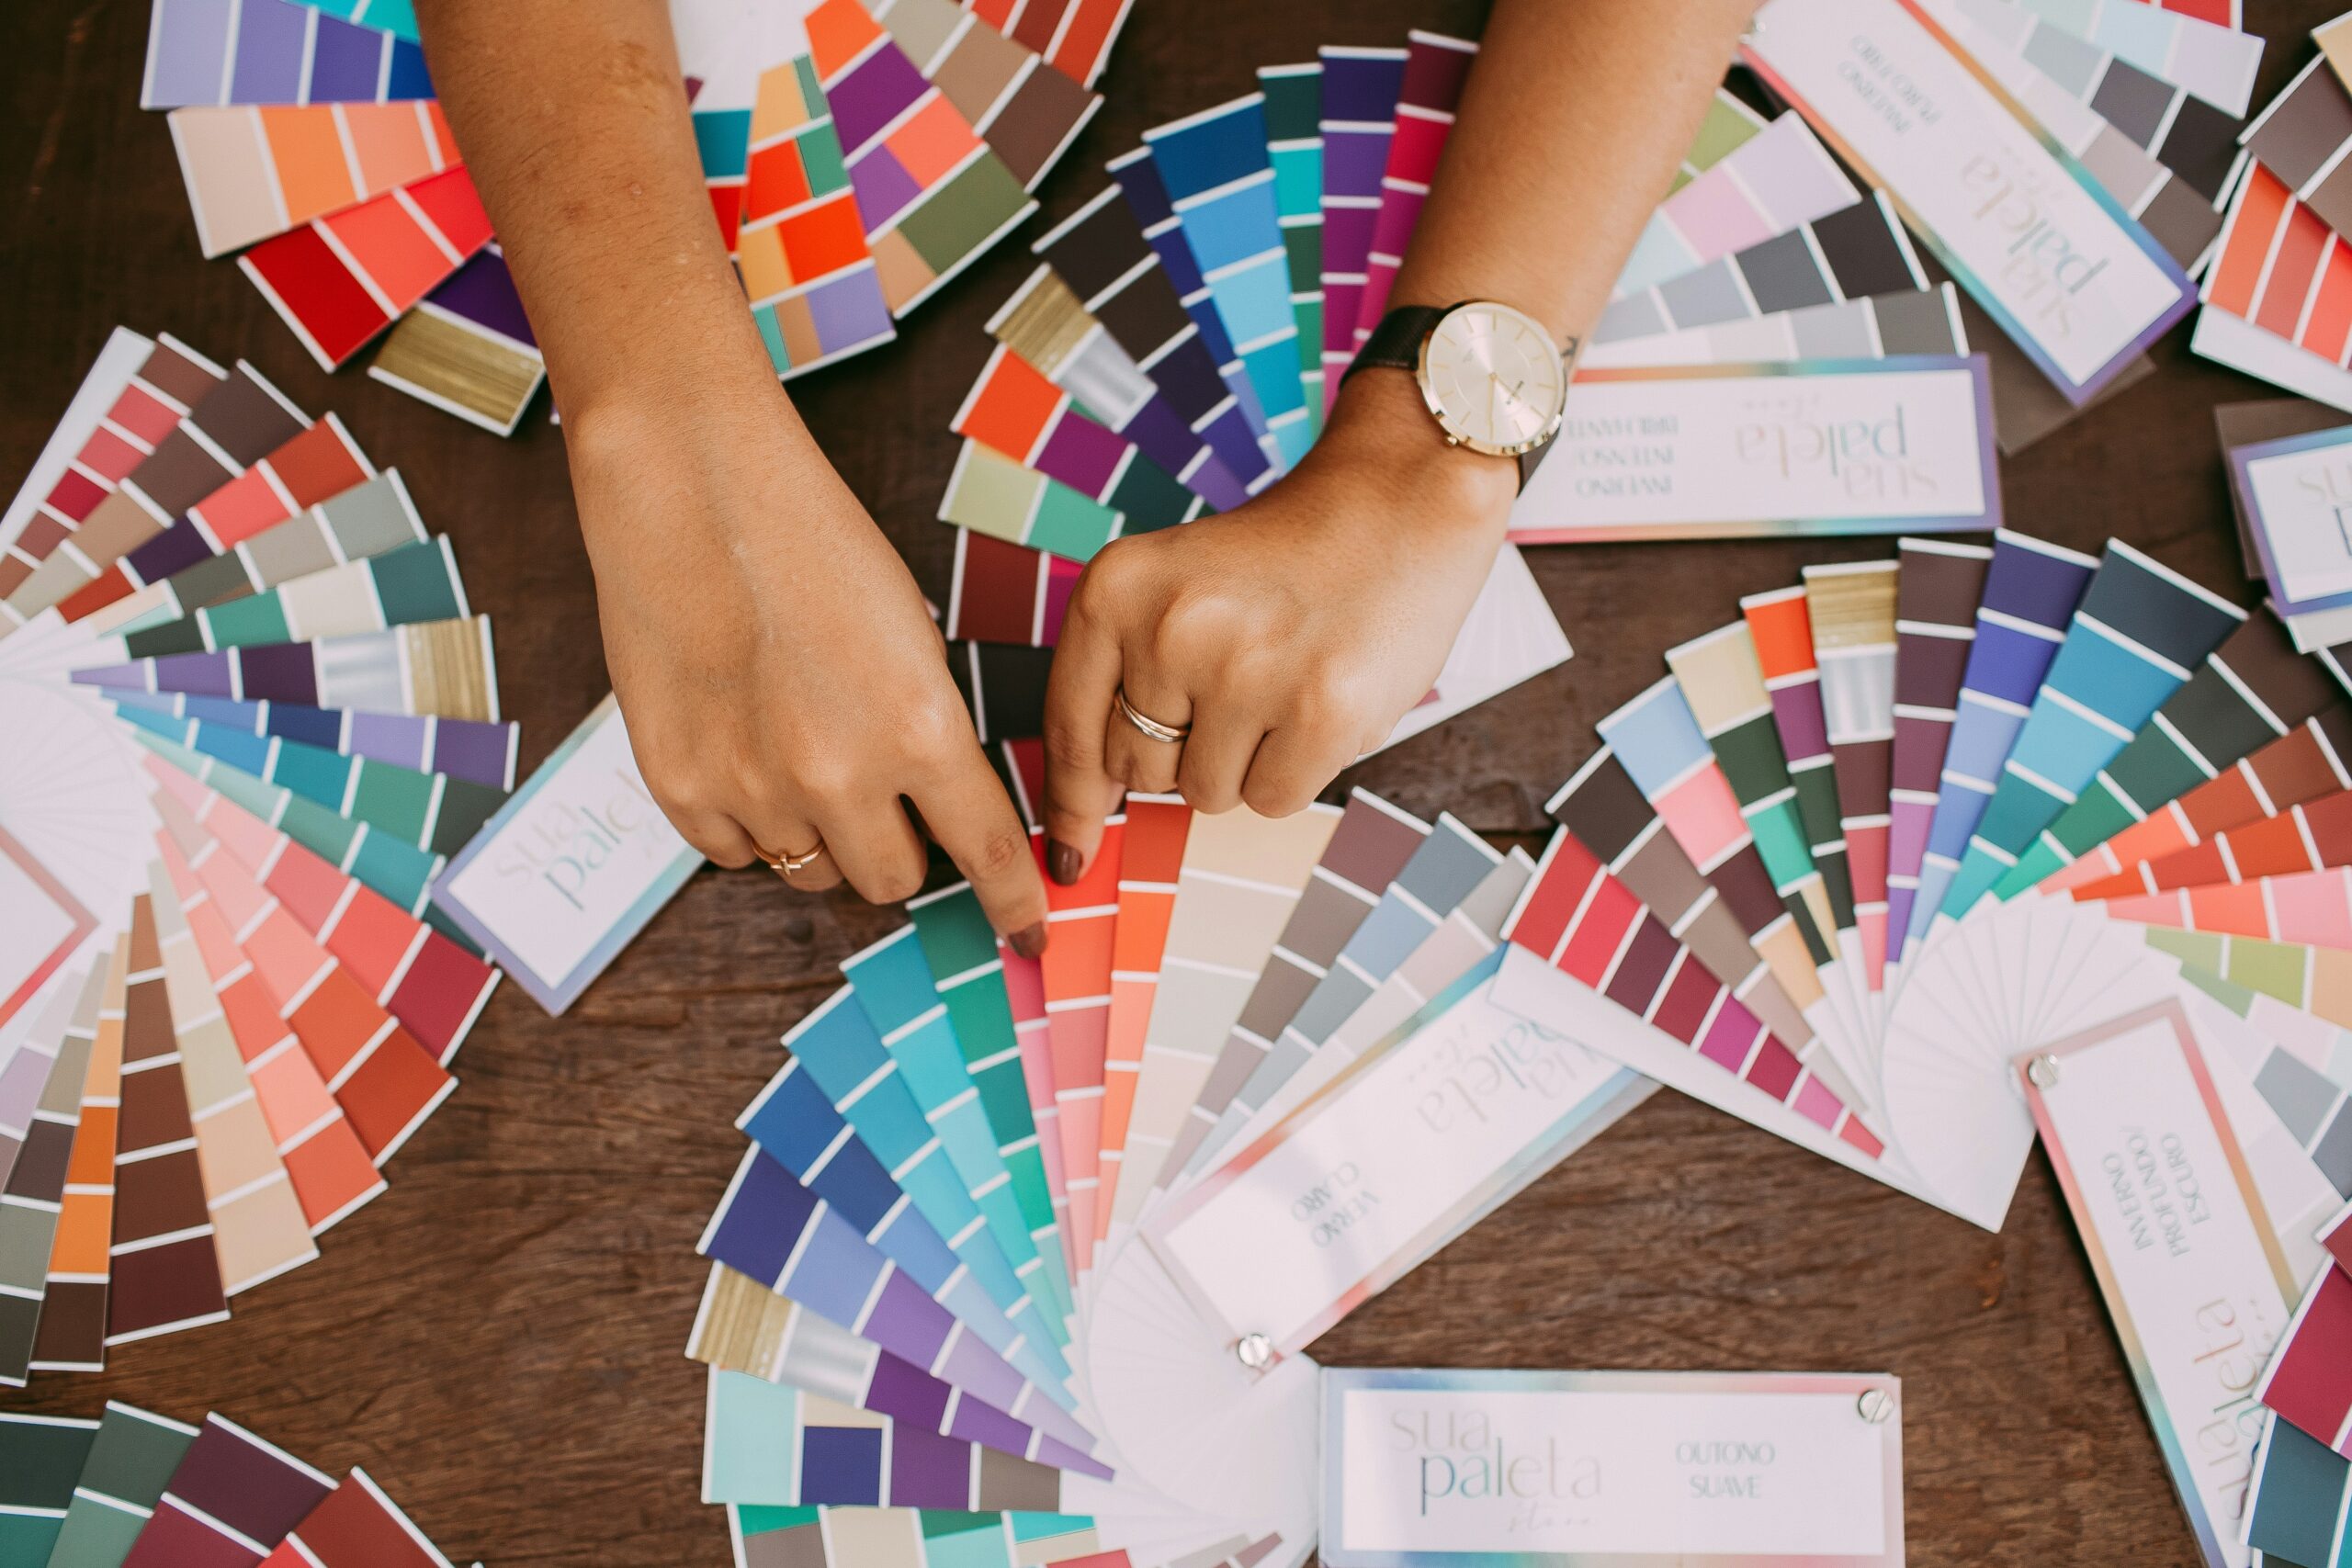
- Moodboard: Create a moodboard, a collection of images, textures, colors, and design elements that inspire you. This can help you visualize the mood and style you want for your photos.
- Brand Consistency: Ensure that the chosen artistic direction aligns with your brand identity. The colors, tone, and overall aesthetic should strengthen your brand image for your target audience.
Logistics: Planning and Organization
Logistics play an equally crucial role in preparing for your photoshoot. Proper organization beforehand will save you time and help avoid unexpected issues on the shoot day.
-
- Product List: Create a list of the products to be photographed. This will help you organize the shooting order and ensure nothing is missed.
- Set Design: Think about how you will arrange your products. Do you want close-up shots, more elaborate setups, or a combination of both? Also, plan for any props or decorative elements that could enhance your photos.
- Schedule: Establish a detailed schedule for the shooting day. Allocate enough time for each type of shot, including buffer time for adjustments and unexpected delays.
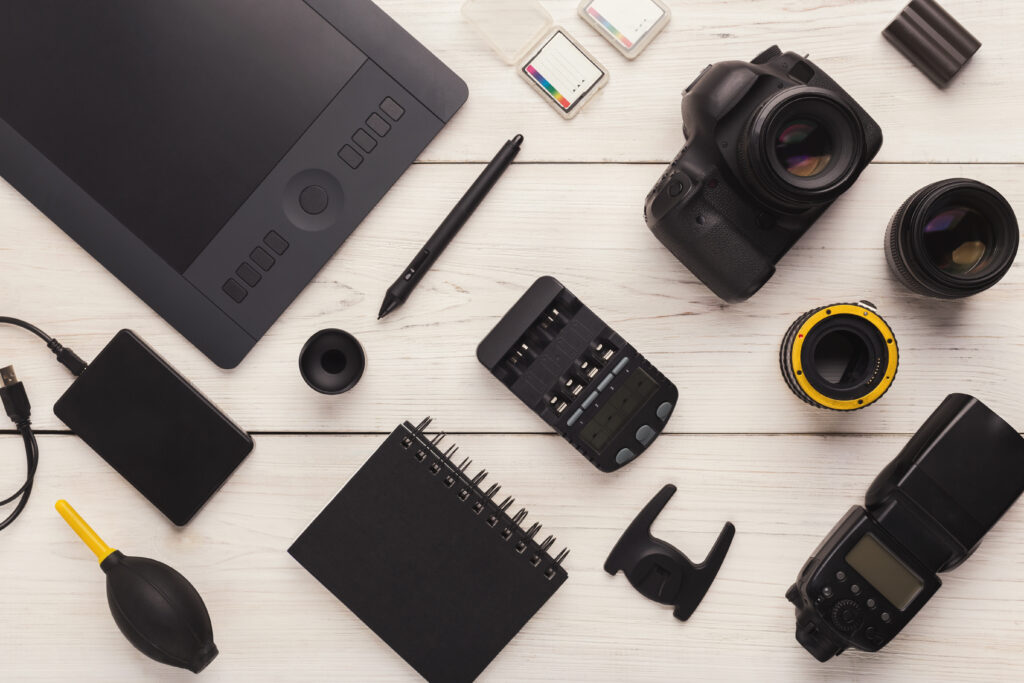
Basic Equipment: Essential Gear
How can you take product photos without professional equipment? While professional gear can be expensive, it’s possible to achieve quality photos with a carefully selected basic setup.
-
- Camera: A DSLR or mirrorless camera can deliver excellent results, but don’t underestimate the quality of modern smartphones. Choose based on your budget and specific needs.
- Tripod: A stable tripod is essential to avoid blur and achieve sharp images, especially in low-light conditions or when using long focal lengths.
- Lighting: Natural light is ideal, but not always reliable. Continuous lights or flashes can help you control the lighting atmosphere of your photos.
- Background: A plain background, usually white or neutral in color, will highlight your products without distractions.
By taking the time to properly prepare each aspect of your product photoshoot, you not only ensure images that captivate and sell but also create a smooth and efficient process that produces consistent, professional-quality visuals, even from home.
Careful Shooting
After meticulously preparing your shoot, the next step is to take action. Proper setup, using tethering for real-time control, and applying precise settings are essential for capturing high-quality images. Here’s how to ensure polished shots that highlight your e-commerce products.
Setting Up for the Shoot
A proper setup is the first step to knowing how to take product photos and optimize your shots:
-
- Workspace: Choose a well-lit and spacious area that allows you to move freely around your products. Make sure the space is clear to avoid any visual distractions in your photos.
- Product Placement: Position your product on a stable surface. Use stands or clips if necessary to keep the product in the desired position.
- Lighting: Adjust your light sources to eliminate unwanted shadows and highlight the details of your products. Use reflectors to soften shadows and ensure even lighting.
Tethering: Real-Time Control
Tethering, or connected shooting, allows you to link your camera to a computer or tablet, providing several advantages:
-
- Immediate Visualization: You can view your photos on a larger screen right after capture, making it easier to adjust settings or composition.
- Precise Adjustments: Tethering simplifies real-time adjustments for lighting, framing, and focus.
- File Management: Photos can be saved directly to your computer, making sorting and post-production easier.
Careful Shooting with the Right Settings
Precise settings on your camera ensure the quality of your images:
-
- ISO 100: To minimize noise and maximize image quality, set the ISO to the lowest value, usually ISO 100.
- Aperture f/11 to f/13: Depending on your lens, an aperture between f/11 and f/13 provides good depth of field while maintaining sharpness across the product.
- Using Flashes: If needed, use flashes for consistent and controlled lighting. Flashes help capture textures and details without overexposure.
Saving Photos in the Right File Formats
-
- RAW Format: Shoot in RAW format for maximum flexibility in post-production. RAW retains all image data, allowing for finer adjustments to exposure, colors, and details.
- XL Size: Ensure your photos are captured at the highest resolution your camera offers for optimal image quality, especially useful for prints or online zooms.
By following these tips for your shots, you will lay a solid foundation for e-commerce product images that capture attention and encourage purchases. The key is to combine meticulous preparation with precise technical execution, ensuring that each photo reflects the quality and appeal of your products.
Post-Production – Perfecting Your Images
Once your shots are taken, the post-production stage plays a crucial role in finalizing your images for web or print. This phase allows you to optimize colors, contrast, white balance, and make any necessary corrections to ensure your product photos shine at their best. Here’s how to turn your raw images into visual masterpieces.
Color and Contrast Optimization
-
- Color Adjustment: Use photo editing software to fine-tune saturation and vibrance, ensuring your product colors are true to life and stand out attractively.
- Contrast: Slightly increase contrast to add depth to your images. This will help bring out details and make your photos more dynamic.
White Balance and Distortion Correction
-
- White Balance: Ensure the colors in your images are natural and consistent. Adjust the white balance to correct color casts and achieve a neutral look, especially for white backgrounds.
- Distortion Correction: If your product appears distorted due to perspective or lens use, apply perspective correction tools to straighten and properly align lines.
Cut-Out and Corrective Retouching
-
- Cut-Out: Precisely isolate your product from the background, which is especially useful for online catalogs and product listings where a solid or transparent background is preferred.
- Corrective Retouching: Remove small defects or imperfections on the product itself (scratches, dust) to showcase your products at their best.
Dust Removal and Export
-
- Dust Removal: Before final export, review your images to remove any dust or dirt that may have been captured during the shoot.
- Export:
- For Web: Export your images at 72 dpi with a width of 2000px, which is generally sufficient for high-quality viewing on most screens while ensuring fast loading.
- For Print: Export at 300 dpi to guarantee optimal sharpness and image quality for printed materials.
Renaming Photos
-
- Organization: Rename your files consistently, using descriptive keywords and a numbering system. This will facilitate organizing your image library and improve the SEO of your images on the web.
Post-production is where art meets technique. By refining every detail of your images, you ensure that your products are presented at their best while creating a consistent and professional visual experience for your online brand. With patience and attention, your post-production efforts will turn standard shots into outstanding images that captivate and convert.
Conclusion
Product photography is much more than just a step in bringing your products to the online market; it is a true blend of art and technique, a delicate dance that brings your products to life and showcases them at their best. Throughout this guide, we have covered the crucial steps, from careful shoot preparation to the magic of post-production, demonstrating that even with limited means, you can create captivating and professional visuals.
Remember, each photo in your e-commerce store is an invitation to purchase, a promise of quality, a window into your brand’s universe. By following the tips provided in this article, you now have the keys to confidently and creatively open this window, offering your customers a rich visual experience that sparks imagination and drives conversions. (For more tips: read this article.)
At Rétines, we firmly believe in the power of our photography to transform how your products are perceived and strengthen your brand identity. Contact us if you want to try creating stunning photographs with our team of pros!
Jérémy Carlo is the editorial director at Rétines, where he ensures the consistency and clarity of all content produced by the studio.
Our Clients


Let’s discuss
What we do for you at Rétines
Meticulous work, an organised project and fast delivery. And to achieve this, we mobilise the right resources in our teams at the right time.
01
Pre-production
Artistic and technical direction tailored to the project.
Relevant recommendations on content, form and resources.
02
Photo Shooting
Photos taken by our experienced photographers.
Production that’s controlled, efficient and tailored to the needs of the project, with nothing superfluous.
03
Retouching
Technique
Photographs magnified by our retouching team.
Post-production to meet the commercial challenges of the brief.